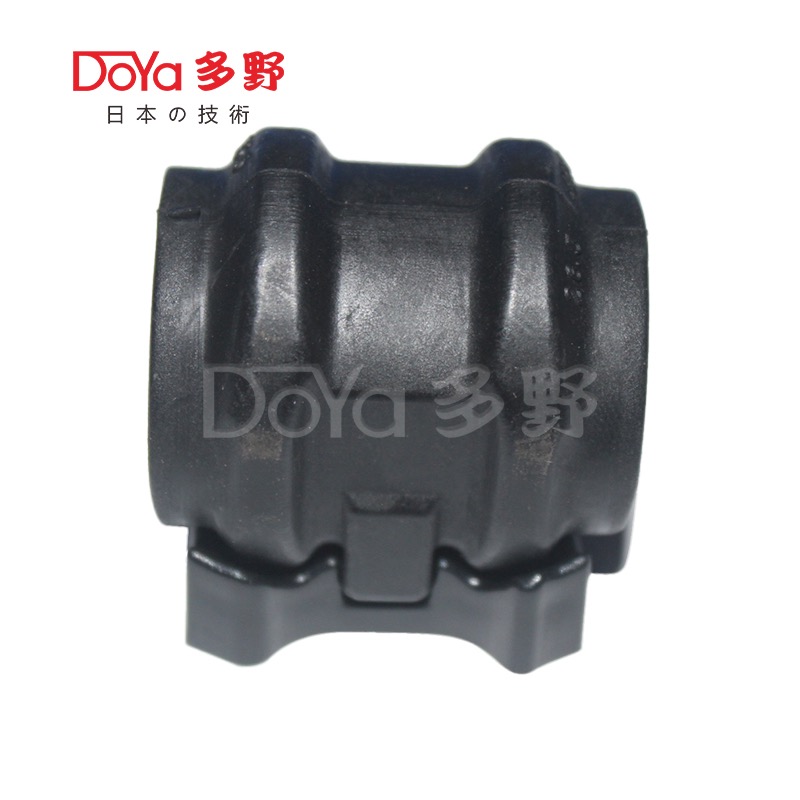
Step-by-Step Guide: How to Replace a Stabilizer Bush in Your Vehicle
2024-03-01
Introduction:
As crucial components of your vehicle's suspension system, stabilizer bushes play a pivotal role in maintaining stability and control during driving maneuvers. Over time, these bushes can wear out, leading to diminished performance and potential safety hazards. Fortunately, replacing worn stabilizer bushes is a manageable task with the right tools and know-how. In this blog post, we'll provide a step-by-step guide on how to replace a stabilizer bush, empowering you to tackle this maintenance task confidently and effectively.
Step 1: Prepare Your Vehicle
Start by parking your vehicle on a level surface and engaging the parking brake. If necessary, use a jack and jack stands to elevate the front or rear end of the vehicle, providing ample space to access the stabilizer bush and associated components.
Step 2: Locate the Stabilizer Bush
Identify the stabilizer bar and locate the stabilizer bush that requires replacement. The bush may be mounted to the chassis or control arms using brackets or links. Inspect the bush for signs of wear, damage, or deterioration, such as cracking, sagging, or fluid leaks.
Step 3: Remove the Old Stabilizer Bush
Use appropriate tools, such as a socket and wrench set, to loosen and remove the nuts, bolts, or fasteners securing the old stabilizer bush to its mounting bracket or control arm. Depending on the vehicle's design, you may need to disconnect other components, such as ball joints or end links, to access the bush.
Step 4: Extract the Bushing
Once the fasteners are removed, carefully extract the old stabilizer bush from its mounting bracket or control arm. Use a pry bar or lever to apply gentle pressure and wiggle the bushing free from its housing. If necessary, use a dedicated bushing removal tool to assist with the extraction process.
Step 5: Install the New Stabilizer Bush
Prepare the new stabilizer bush for installation by applying a thin layer of lubricant to the bushing and mounting points. Align the bushing with its mounting bracket or control arm and press it into place using firm but controlled pressure. Ensure that the bushing is seated securely and evenly within its housing.
Step 6: Reassemble the Components
Reattach any additional components, such as end links or ball joints, that were disconnected during the removal process. Use a torque wrench to tighten the nuts, bolts, or fasteners to the manufacturer's specified torque settings, ensuring proper alignment and secure attachment.
Step 7: Test and Adjust
Lower the vehicle back to the ground and test the stabilizer bush replacement by gently rocking the vehicle side to side or performing a short test drive. Listen for any unusual noises or vibrations and verify that the vehicle's stability and handling have been restored.
Step 8: Final Inspection
Once satisfied with the replacement, perform a final visual inspection to ensure that all components are securely fastened and aligned correctly. Double-check for any signs of leaks, damage, or interference with surrounding components.
Conclusion:
In conclusion, replacing a worn stabilizer bush is a manageable task that can be completed with basic tools and a methodical approach. By following the step-by-step guide outlined above, you can effectively replace a stabilizer bush in your vehicle, restoring stability, control, and safety on the road. Remember to prioritize safety by using appropriate tools and techniques and consult your vehicle's service manual for specific instructions and torque specifications. With proper maintenance, your vehicle's suspension system will continue to provide smooth and reliable performance for miles to come.


